Tesla Touch-Up Paint Guide: Avoid These Common Mistakes for a Flawless Finish
Maintaining your Tesla's flawless appearance is every owner's priority. With a high-quality Tesla touch-up paint pen, small scratches and chips no longer have to mean a costly trip to the body shop. However, improper use can lead to worse outcomes: uneven paint texture, visible color mismatch, or peeling. This comprehensive guide explains how to properly use a Tesla touch-up paint pen and avoid the most common mistakes.

Why Proper Application of Tesla Touch-Up Paint Matters
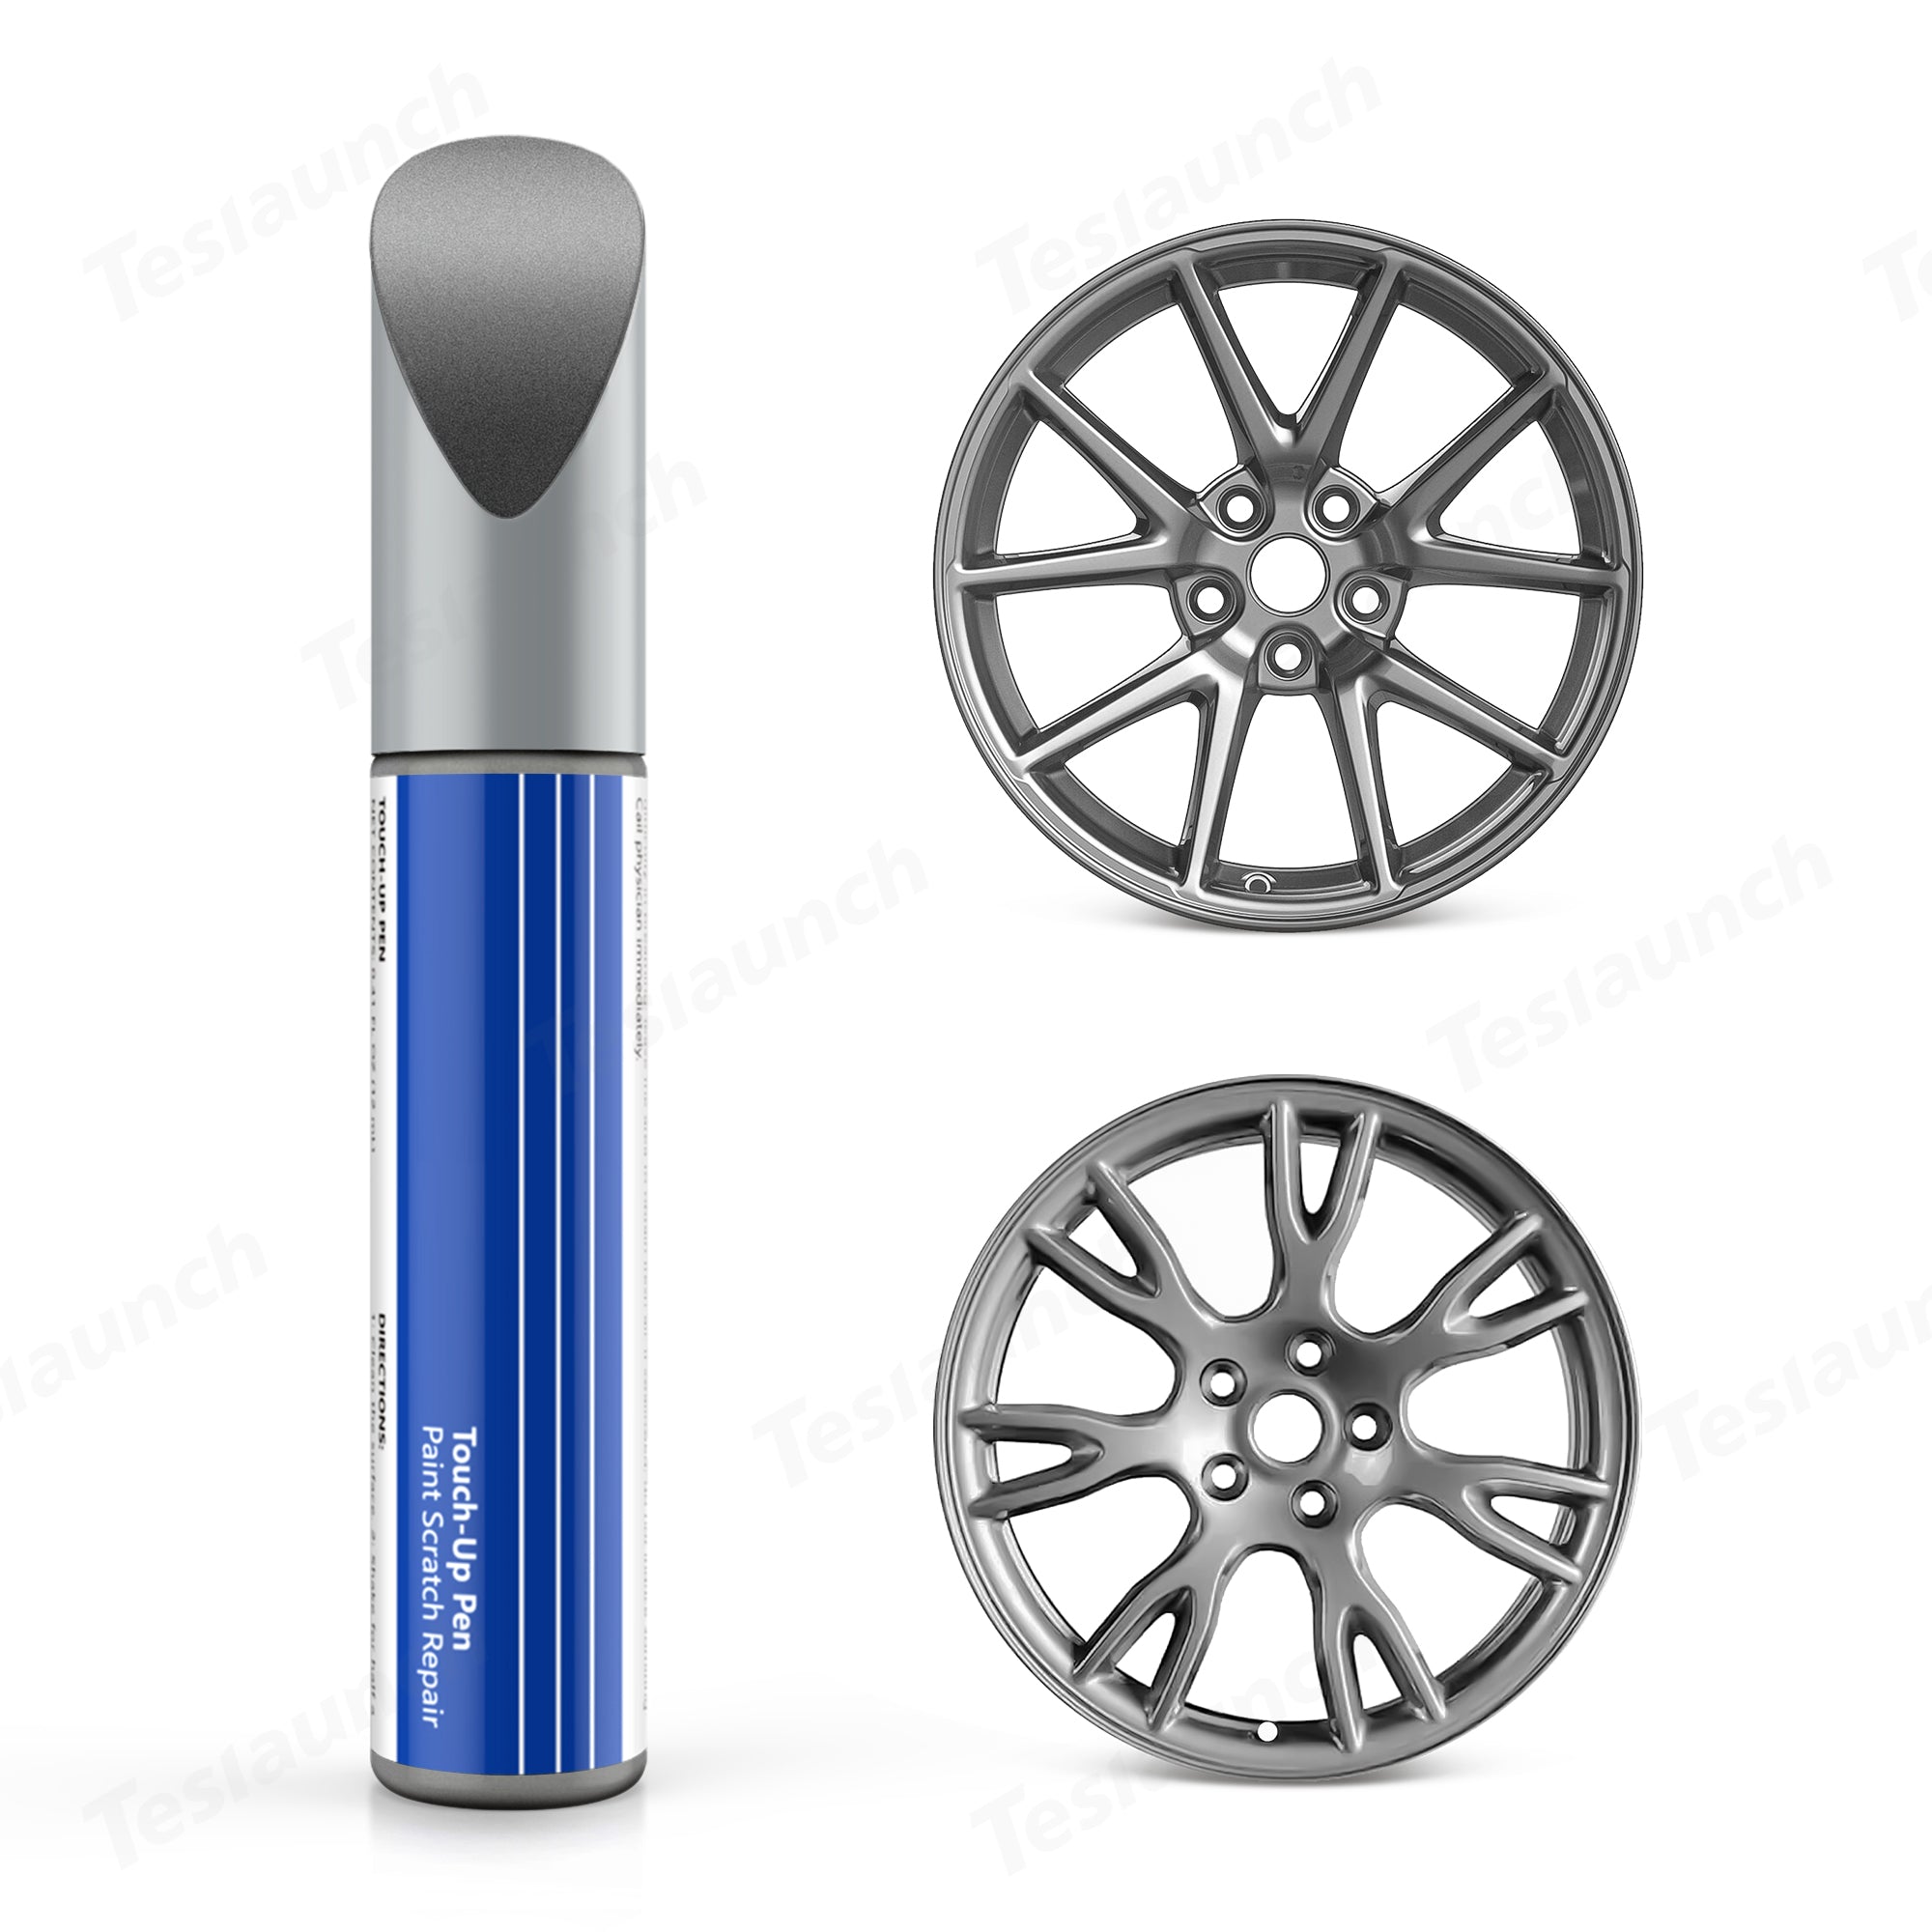
A properly applied touch-up can seamlessly blend into your factory paint, protecting the surface from rust and maintaining your car's aesthetic. For instance, the Tesla Model Y Juniper (2025+) touch-up pen features advanced metallic paint and precision applicators—but results still depend on user care.
Failing to follow the correct steps can result in:
- Noticeable color inconsistencies
- Paint peeling or bubbling
- Permanent unevenness on your paintwork
This guide covers essential preparation, correct application steps, and expert tips to help Tesla owners achieve a professional-looking result at home.
Step-by-Step: How to Use the Tesla Touch-Up Paint Pen
1. Clean the Damaged Area Thoroughly
The first step is surface preparation before using the Tesla touch-up paint pen. Paint does not adhere properly to dirty, oily, or rusty surfaces.
Correct Approach:
- Wash the scratched area with soap and water.
- Dry it completely using a clean microfiber cloth.
- Use rubbing alcohol or a degreaser to remove wax or residue.
Common Mistake: Skipping this step causes the paint to bubble, flake, or seal in contaminants.
2. Locate and Confirm the Correct Paint Code
Tesla vehicles have their paint code inside the driver-side door jamb, usually on the manufacturer label next to the VIN and build date.
Why It Matters: Even among the same model and color name (like "Deep Blue Metallic"), paint shades can vary slightly by year or batch. Always confirm you're using the correct code-matched product for your vehicle.
3. Shake the Touch-Up Pen Properly
Tesla touch-up paint contains metallic flakes that can settle at the bottom of the pen. Shaking ensures even color distribution.
✅ Recommended: Shake the pen vigorously for 1–2 minutes up and down before use.
🚫 Common Mistake: Under-shaking leads to color inconsistency and uneven coverage.
4. Apply in Thin, Even Layers
One of the most common user errors is applying too much paint at once. This can result in paint dripping, long drying times, and a lumpy finish.
✅ Pro Tip:
- Use a gentle dabbing or micro-brushing motion.
- Apply multiple thin layers, allowing 5–10 minutes of drying between each.
- A second or third coat may be necessary for deep chips or gashes.
🚫 Avoid This: Never brush across the chip aggressively or use heavy pressure.

5. Don't Skip the Clear Coat
A clear coat is crucial for durability and UV protection. Without it, the repair may fade, wear off quickly, or look dull compared to the original finish.
✅ Best Practice:
- Once color coats are dry (typically after 1–2 hours), apply 1–2 thin layers of clear coat.
- Let dry thoroughly—preferably overnight—for best bonding and shine.
💡 Extra Benefit: The clear coat enhances the metallic paint's depth and glossiness, blending better with Tesla's factory finish.
Aftercare: What to Do After Painting
Let the Paint Fully Cure
The paint cures for several hours, even if it feels dry to the touch.
🕒 Wait at least 24 hours before exposing the area to water, washing the car, or applying wax.
Perform Light Polishing (Optional)
Once the paint and clear coat are fully cured:
- Use a mild polish or rubbing compound and a microfiber towel.
- Gently blend the edges for a smoother finish.
This is especially useful if you notice a slight bump or unevenness.
Additional Tips: Getting the Best Out of Your Tesla Touch-Up Paint Kit
✔ Use the Right Tool for the Right Job
- Brush-style pens are great for pinpoint accuracy on chips and narrow scratches.
- Aerosol spray kits work better for large surface touch-ups.
✔ Store the Pen Properly
After use:
- Tighten the cap firmly.
- Store the pen in a cool, dry place, away from direct sunlight or heat.
This helps maintain the formula's consistency for future repairs.
Top Features of the Tesla Model Y Juniper 2025+ Touch-Up Paint Kit
- Perfect Color Match: Explicitly formulated for Tesla OEM paint codes.
- High-End Metallic Paint: Offers rich depth and an accurate factory finish.
- Precision Tip Design: Ensures targeted application, even in tight spots.
- Durability: Heat- and cold-resistant, withstanding extreme weather conditions.
- Portability: Compact size fits easily in your glove box or trunk.
Final Thoughts: Tesla Touch-Up Paint Done Right
Repairing minor scratches with the Tesla touch-up paint pen is cost-effective and satisfying—if done correctly. Avoiding common errors such as skipping preparation, applying thick coats, or forgetting the clear coat can distinguish between a sleek, seamless repair and a blotchy blemish.
Whether you drive a Tesla Model Y Juniper 2025+ or another model, following this guide ensures your vehicle maintains its stunning finish and value. Trusted retailers like Teslaunch offer tailored solutions for Tesla owners who are unsure about their paint code or looking for a full kit.

